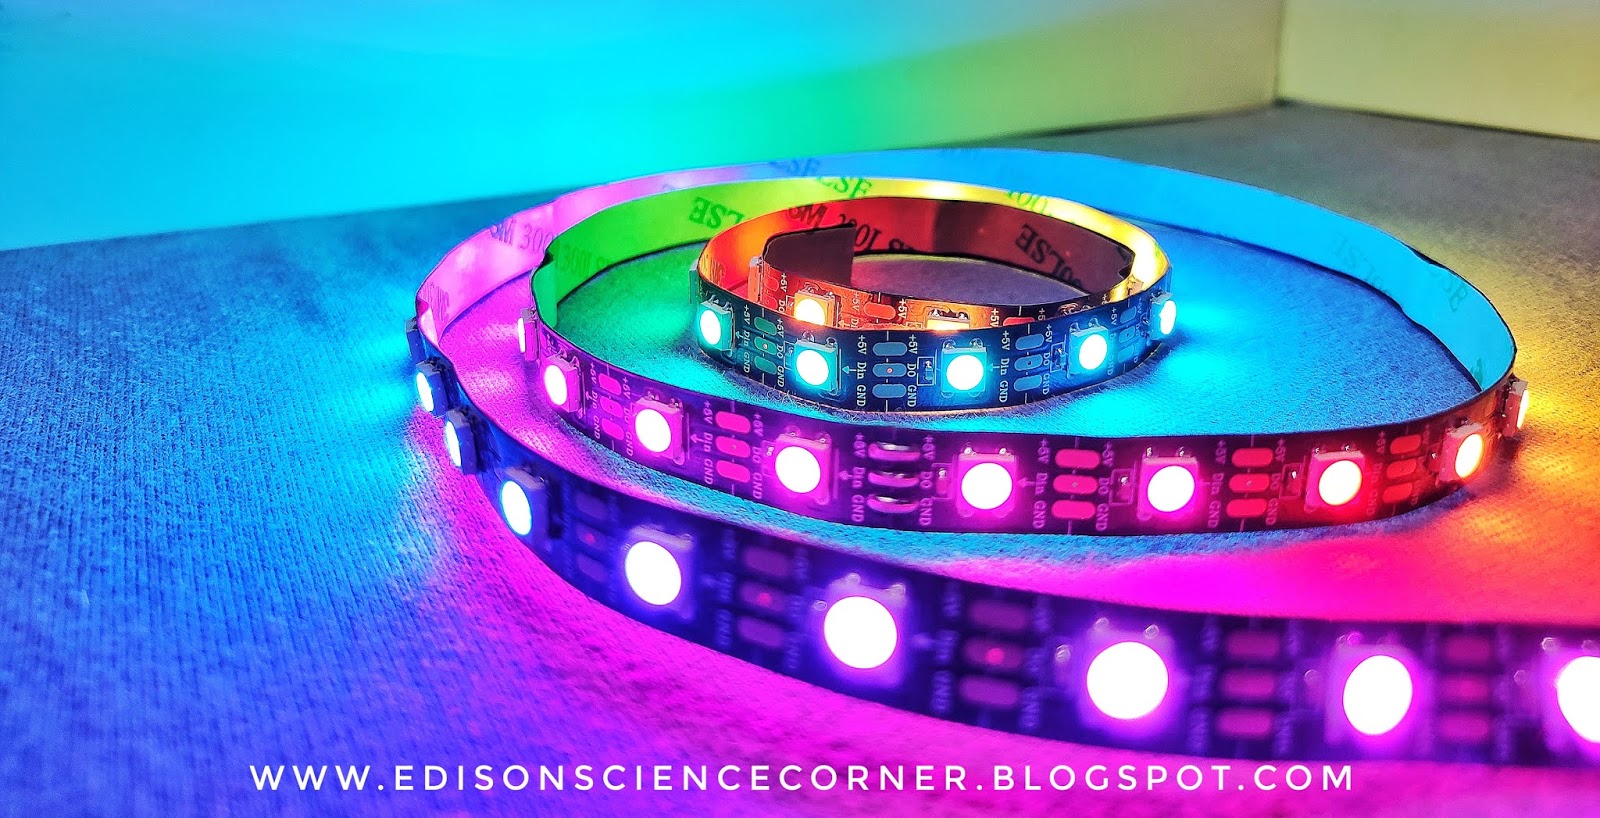
In this tutorial i will you how to control individually addressable RGB LEDs or a WS2812B LED strip using Arduino
1.Arduino
2.WS2812 rgb leds
From AliExpress-
https://s.click.aliexpress.com/e/_dSwtVaP
From Amazon-
https://amzn.to/2W9uGTi
3.5volt 3A power supply
From AliExpress-
https://s.click.aliexpress.com/e/_dYjWKsf
From Amazon-
https://amzn.to/2Zk2AH0
WS2812 NeoPixel LED Strip Working
WS2812 LED strips are addressable and programmable Flexible LED strips which are very useful in creating the custom lighting effects. These LED Strips are powered by a 5050 RGB LED with a WS2812 LED driver inbuilt within it. Each LED consumes 60mA current and can be powered from a 5V DC supply. It has a single input data pin which can be fed from the digital pins of Microcontrollers.
Depending on the intensity of the three individual Red, Green, and Blue LEDs we can create any color we want.
- 16.8 million colors per pixel
- Single-wire digital control
- Operating Voltage: 5V DC
- Current Requirement: 60mA per LED
- Flexible LED structure
- 5050 RGB LED with WS2812 driver
Circuit diagram
Connections
5v to supply 5v
Common Ground to arduino and led
Datain to any adigital pin
Install the fastled library
After downloading fastled library from the below link
Open Arduino IDE and do the following:
Click on "Sketch" and then click "Include library"
Click on "add .zip library"
Programming the LED
#include
// header file
#define NUM_LEDS 60
// number of led present in your strip
#define DATA_PIN 6
// digital pin of your arduino
Depending on your led strip type select appropriate void setup function
void setup()
{
FastLED.addLeds(leds, NUM_LEDS);
}
Watch the video to know more


code???
ReplyDeletecode???
ReplyDelete